Opening condition
Look for alignment problems, deteriorated material, staining, failed sealants and drainage concerns without assuming a generic symptom proves the cause.
Professional installation scope
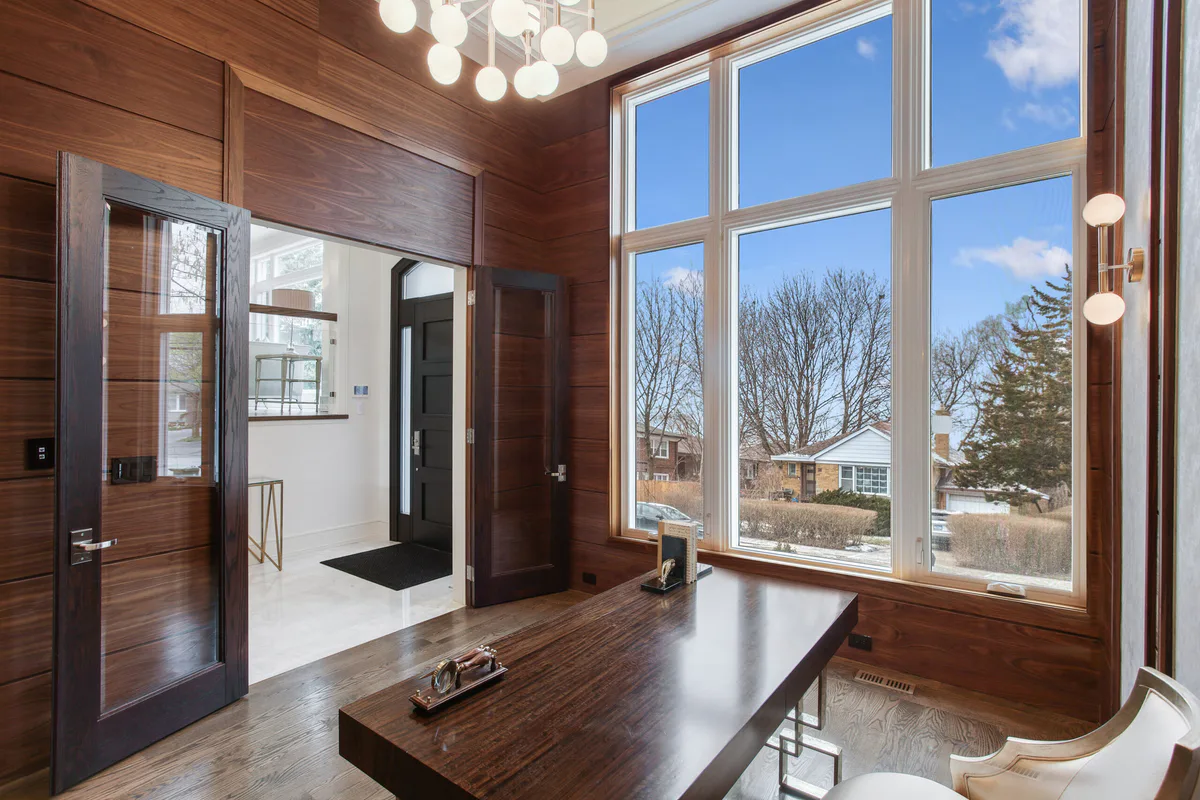
A well-specified window still depends on how it is fitted to the wall. Professional installation connects the manufactured unit to the rough opening, insulation, exterior drainage plane and interior finish without turning homeowner education into unsafe structural instruction.

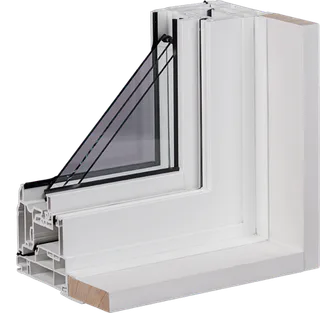
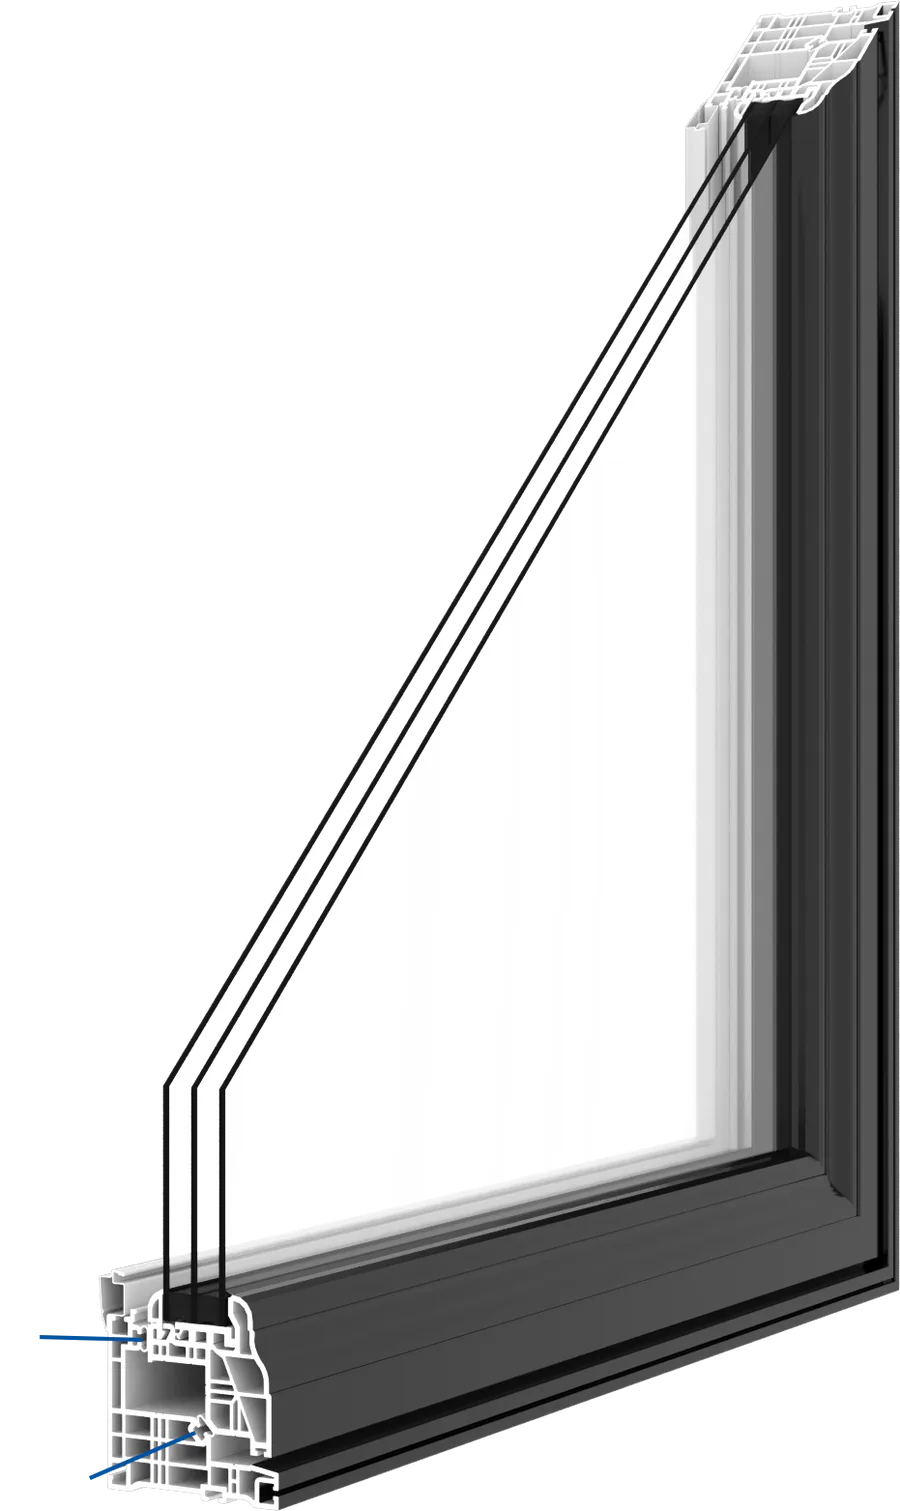
A representative replacement window configuration. The exact product, options and performance details are confirmed in your written quotation.
At a glance
Installation begins before removal. The existing frame, sill, exterior cladding, interior trim, access and visible signs of moisture must be reviewed so that the quotation reflects the likely work. The measured opening determines product dimensions and helps identify whether full-frame or insert replacement is appropriate.
The sequence below describes what homeowners should expect to see addressed. Fastener patterns, flashing details and structural repairs vary with the product, wall assembly, code requirements and site conditions; those details belong with trained installers and the selected system instructions.
Before removal
Measurements must account for more than visible glass. The installer reviews frame condition, wall thickness, sill slope, jamb depth, exterior return and interior trim. Out-of-square openings, joined units and unusual cladding can affect manufacturing dimensions and finish work.
Upper floors, large fixed units, restricted exterior access and occupied rooms require handling and protection plans. If there is evidence of active leakage or deterioration, the scope should explain what can be assessed before removal and how concealed conditions will be addressed.
Look for alignment problems, deteriorated material, staining, failed sealants and drainage concerns without assuming a generic symptom proves the cause.
Identify casing, jamb extensions, drywall, tile, brickmould, capping, masonry or siding that meets the frame.
Manufacturing size must allow the unit to be positioned, fastened, insulated and finished within the assessed opening.
Plan safe access, surface protection, dust control, temporary weather exposure and handling for removed and new units.
On installation day
Insert work retains defined existing-frame components; full-frame work removes the old frame and exposes more of the wall opening. The crew clears loose material, reviews newly visible conditions and confirms that the opening can receive the new unit.
The window is positioned level, plumb and square, with shims and fasteners supporting the frame without distortion. Joined assemblies and large units need particular attention to support and alignment. Operation is checked during setting rather than after every finish is complete.
Establish access, protect surfaces and stage the unit before the old window is opened to weather.
Follow the full-frame or retrofit boundary and preserve adjacent finishes intended to remain.
Review substrate, sill, drainage and deterioration. Pause for an agreed scope change where required.
Position, shim and fasten according to the selected system while maintaining frame geometry.
Create the specified interior air seal and exterior water-management connection without blocking drainage.
Complete included trim or capping, adjust hardware, clean glass and remove debris.
Building-envelope connections
Insulation limits heat flow through the gap around the frame, but insulation alone is not an air barrier. The interior connection should control air and indoor moisture entering the joint. The exterior connection should shed water while respecting wall and window drainage.
A thick exterior sealant bead is not a substitute for coherent water management. Sill conditions, membranes, drainage cavities and cladding differ between homes. The approach must be coordinated with the exposed assembly.
Limit heat transfer without bowing the frame or interfering with operation.
Limit air and moisture movement from the room into the perimeter joint with a compatible continuous connection.
Direct rainwater outward while preserving intended wall and window drainage paths.
Completion standard
Every operating sash should open, close and lock without binding. Screens, hardware, drainage openings and visible sealant joints should be reviewed. Interior and exterior finishes should match the written scope, and the work area should be clean.
The homeowner should receive or know how to access applicable warranty information. The final review is also the time to record any outstanding finish item rather than assume it will be remembered later.
Technical and configuration details
Each visual explains a specific detail relevant to what a complete window installation actually involves.. Captions identify its practical limits.
Product examples
Explore common configurations, then confirm the exact product, performance ratings and warranty in your written quotation.

Replacement windowReference WRP-W001
A side-hinged vinyl window that opens outward with a crank and closes against a compression seal. The compact frame direction preserves useful glass area while supporting double- or triple-pane insulated glass choices.

Replacement windowReference WRP-W008
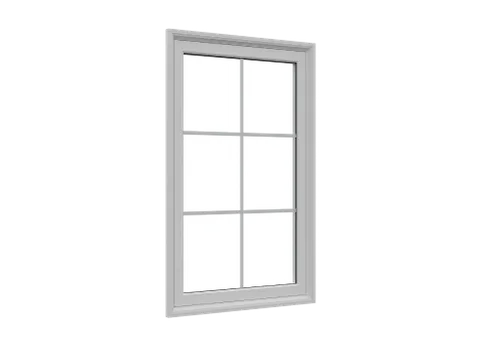
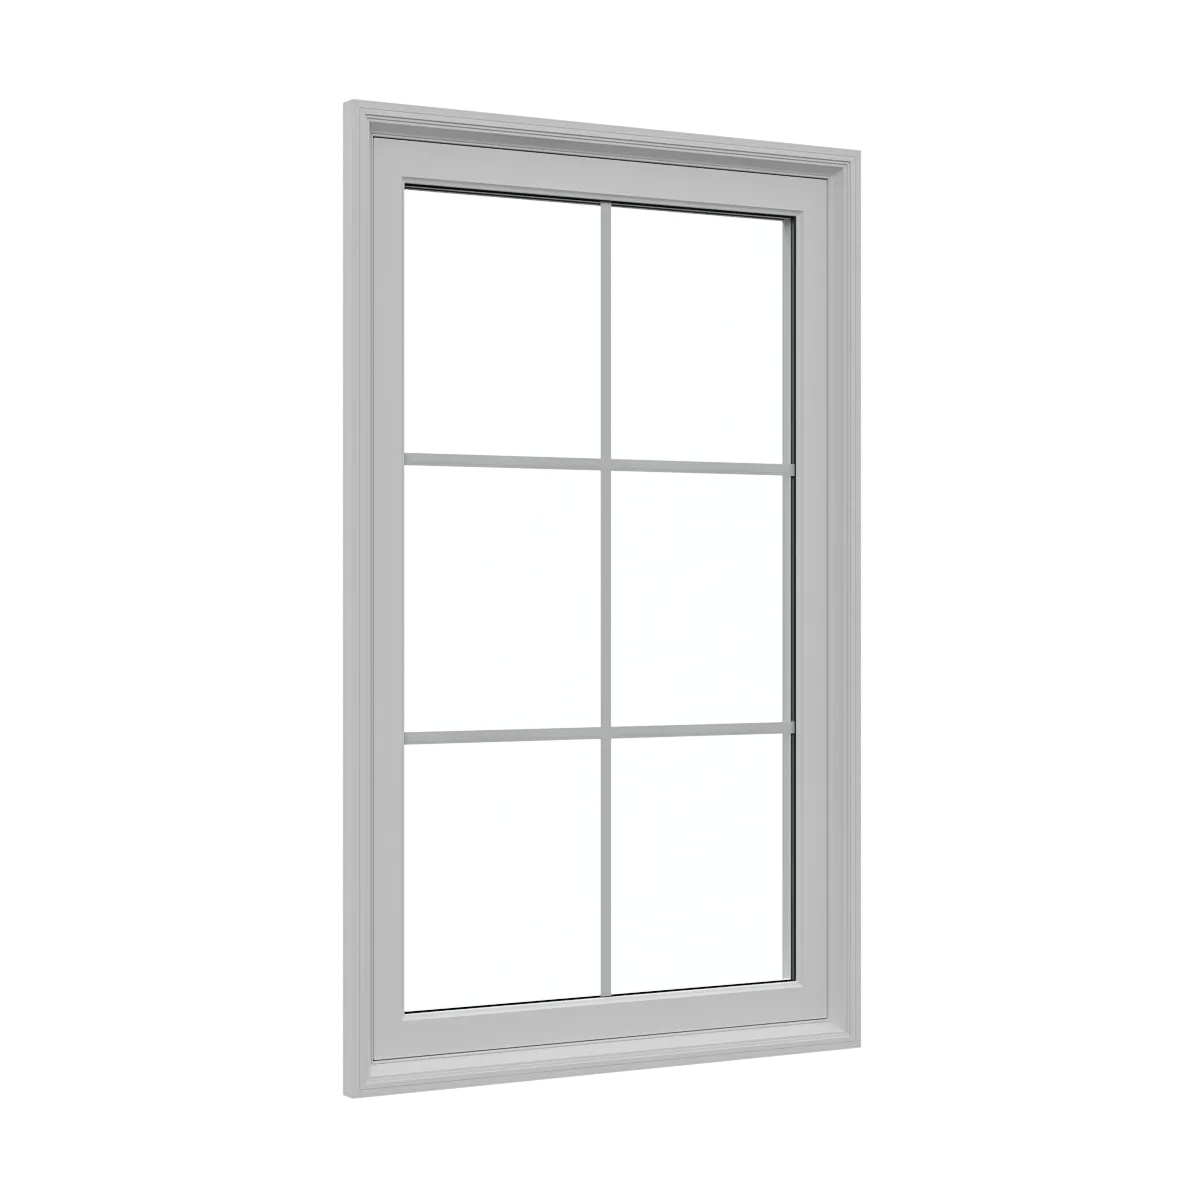
A non-operating window intended to provide uninterrupted daylight and views without ventilation hardware. The fixed sash can stand alone or be coordinated with casement, hung or slider units in a larger composition.
Continue planning
Plan your replacement
Compare suitable options, confirm the site measure and receive a written scope for product supply, installation and finishing.